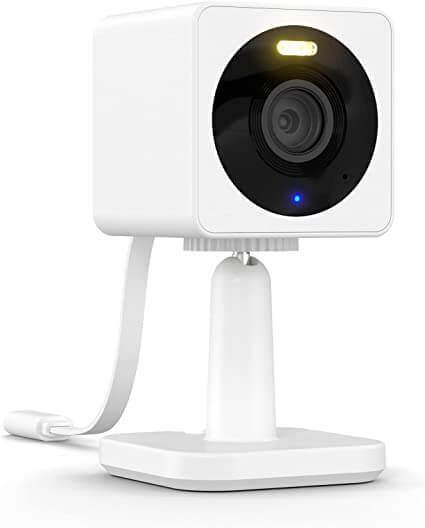
Getting Ready for Setup: My Personal Experience Preparing My Wyze Camera for Connection
Hello, tech enthusiasts! When it comes to setting up a smart home security system, preparation is key. One of my favorite smart security cameras, the Wyze Camera, offers excellent features at an affordable price. But before diving into its setup, it’s vital to ensure you’re ready for the process. Allow me to guide you through my personal experience preparing my Wyze Camera for connection.
The Components You Need
Before starting your Wyze Camera setup, ensure you have the following components ready:
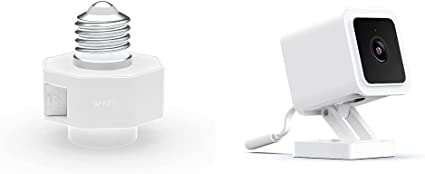
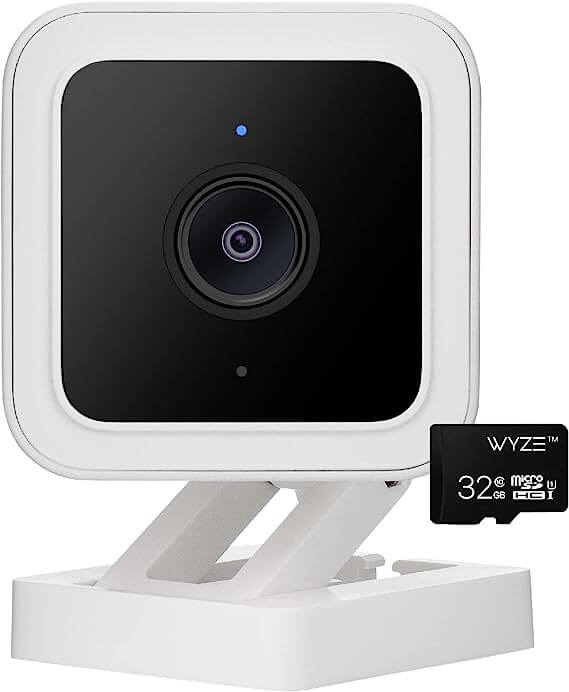
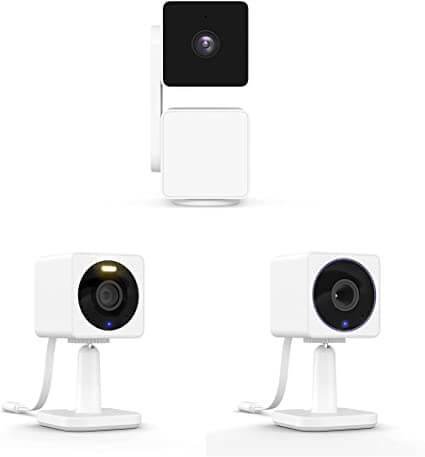
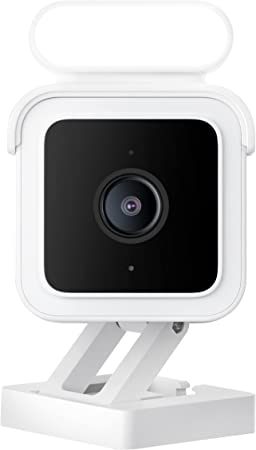
- Wyze Camera: Whether it’s the Wyze Cam v3 or any other model, ensure you have your Wyze Camera at hand.
- Smartphone: A smartphone is essential, as the Wyze app, available on iOS and Android, will serve as your primary tool for connecting your camera to WiFi.
- Stable WiFi connection: Wyze cameras work with 2.4GHz networks, so you need to ensure that your home WiFi can support this.
Confirming Your WiFi’s Compatibility
Before even unboxing my Wyze Camera, I made sure to check that my WiFi meets Wyze’s requirements. Remember that Wyze Cameras don’t support 5GHz networks, so your WiFi network needs to be a 2.4GHz band. I found it handy to check this through my router’s settings page.
Getting to Know the Wyze App
Your Wyze app will be your control hub for your Wyze Camera. Before setting up my camera, I downloaded the Wyze app from the Google Play Store and spent some time navigating its features. If you’re an Apple user, you can get the app from the Apple App Store.
Create Your Wyze Account
For first-time users like I once was, creating a Wyze account is a crucial step. I found the process straightforward — you can sign up directly on the app with your email address. Once my account was created, I was ready to connect my Wyze Camera to WiFi.
Downloading and Setting Up the Wyze App: A Personal Journey
Hello, fellow tech lovers! Having your Wyze Camera in hand is just the beginning. Today, we’re taking the next step: downloading and setting up the Wyze App. In my experience, this process is straightforward, but for those new to the Wyze ecosystem, I’ll share my personal journey and insights to help you navigate with ease.
Downloading the Wyze App
Whether you’re on an iPhone or Android device, getting the Wyze App onto your smartphone is as easy as pie. Here’s how I did it:
- On an iPhone: I headed over to the Apple App Store and searched for ‘Wyze.’ After finding the app in the search results, I hit the ‘Get’ button to download it.
- On an Android device: I opened the Google Play Store and followed the same process as above.
Creating a Wyze Account
Once I had the Wyze App on my phone, it was time to create my Wyze account. Here’s how:
- I launched the Wyze App on my phone.
- I tapped ‘Sign Up’ on the login screen.
- I entered my email address, created a password, and accepted the terms and conditions.
- I verified my email address by clicking the link sent to my inbox.
Navigating the Wyze App
After setting up my account, I spent some time getting familiar with the Wyze App’s interface:
- Home Screen: The home screen is where I found a list of all my Wyze devices. As a newbie, my list was empty, but not for long!
- Events: The events tab showed me all the motion and sound events detected by my Wyze devices. Initially, it was empty but soon filled up once my Wyze Camera was up and running.
- Shop: I found this section useful for exploring other Wyze products.
- Account: Here, I found my account settings, order history, device sharing options, and more.
Connecting Wyze Camera to WiFi: My Personal Experience
Greetings, tech enthusiasts! Now that we’re equipped with the Wyze app and a Wyze account, it’s time to take the leap into the world of smart home security. As someone who’s been down this road, I’m excited to share my personal journey connecting my Wyze Camera to WiFi.
Preparing for the Connection
Before starting the connection process, I made sure my Wyze Camera, my smartphone with the Wyze app installed, and my 2.4 GHz WiFi were all within close proximity. This helped ensure a smoother and quicker setup process.
Steps to Connect Wyze Camera to WiFi
The actual process of connecting my Wyze Camera to WiFi was fairly straightforward. Here’s how I did it:
- Open the Wyze App: I launched the Wyze app on my smartphone and logged into my account.
- Add a New Device: On the home screen, I tapped on the “+” icon on the top left corner and then selected “Add Device”.
- Select Wyze Camera Model: I selected my Wyze Camera model from the list provided.
- Power up the Wyze Camera: I plugged my Wyze Camera into a power source and waited for a yellow light to flash, indicating it was ready for setup.
- Press the Setup Button: On the underside of the Wyze Camera, I found the setup button and pressed it. I heard a voice saying “Ready to connect,” which was a clear signal to move forward.
- Enter WiFi Information: Back on the Wyze app, I clicked “Next” and entered my WiFi network’s name and password. It’s crucial to remember that Wyze Cameras only connect to 2.4 GHz WiFi networks.
- Scan QR Code: The Wyze app then generated a QR code, which I pointed the Wyze Camera at. I knew the connection was successful when I heard “QR code scanned, please wait.”
- Finish Setup: After hearing “Setup completed,” I clicked the ‘Next’ button on the Wyze app to finish setting up my Wyze Camera. I gave my camera a name and voila, I was connected!
Possible Errors and Troubleshooting
Throughout the process, I faced a couple of hitches, mostly related to my WiFi connection. However, with a bit of troubleshooting – restarting my router, moving the camera closer to the router, and checking my WiFi credentials – I managed to overcome them.
Tips for Optimizing Wyze Camera Performance: Lessons from My Personal Experience
Hello again, tech devotees! Now that we’ve successfully connected our Wyze Camera to WiFi, let’s discuss how we can maximize its performance. As someone who’s been using a Wyze Camera for quite some time, I’ve learned a few tricks along the way. So, let’s dive into the nitty-gritty of optimizing your Wyze Camera’s performance.
Tip 1: Placement is Key
Where you place your Wyze Camera can significantly impact its performance. I experimented with several spots before I found the best one. Remember to keep your Wyze Camera close enough to your WiFi router to ensure a stable connection. Also, consider the camera angle for capturing the maximum area and the amount of light the camera will get – natural light is best, but not direct sunlight as it could lead to glares in the video.
Tip 2: Keep Your Firmware Up-to-date
I can’t stress enough how important it is to keep your Wyze Camera’s firmware up-to-date. Wyze continually releases firmware updates to improve functionality and fix bugs. You can check for updates directly in the Wyze app.
Tip 3: Optimize Your WiFi
The strength and stability of your WiFi connection can significantly impact your Wyze Camera’s performance. I made sure my router is in a central location in my house and not hidden behind any obstacles. If your WiFi network isn’t reliable, you might consider getting a WiFi extender.
Tip 4: Use an SD Card for Continuous Recording
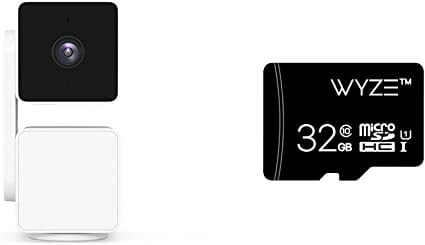
While the Wyze Camera provides 12-second event recordings for free, I wanted continuous recording to not miss anything important. I inserted a microSD card (sold separately) into the Wyze Camera. You can choose between continuous recording or recording events only in the Wyze app.
Tip 5: Utilize Wyze’s Advanced Features
Wyze Cameras come packed with advanced features, and it’s worth your time exploring them. For instance, I’ve set up custom motion detection zones to focus on high-priority areas and adjusted the sensitivity levels of the sound and motion sensors.
Troubleshooting Common WiFi Connection Issues: My Personal Wyze Experience
Hello, tech adventurers! With the rise of smart home security, having a stable WiFi connection is more crucial than ever. As a Wyze Camera user, I’ve had my fair share of WiFi connection hiccups. Today, I’ll share my personal experience and the solutions I’ve found to these common issues.
Issue 1: Wyze Camera Not Connecting to WiFi
The first time my Wyze Camera refused to connect to WiFi, I was puzzled. But after a bit of tinkering, I discovered a few solutions:
- Check WiFi credentials: I made sure the WiFi network name and password were entered correctly in the Wyze app.
- Ensure Compatibility: Wyze Cameras are only compatible with 2.4GHz WiFi networks. So I made sure my network was set to 2.4GHz and not 5GHz.
- Restart Your Devices: I unplugged my Wyze Camera and router, waited for a minute, and then plugged them back in. This simple step helped reestablish the connection.
Issue 2: Camera Disconnects Frequently
I noticed my Wyze Camera disconnecting from WiFi frequently, which was quite annoying. Here’s what helped me:
- Move Closer to Router: I relocated my Wyze Camera closer to the WiFi router, ensuring there were no physical obstructions between them.
- Check for Interference: Other devices can cause interference with your WiFi signal. I moved my router away from appliances like microwave ovens and cordless phones.
Issue 3: Poor Video Quality
Poor video quality can often be a symptom of a weak WiFi connection. Here are the steps I took to resolve this:
- Upgrade Internet Speed: If your internet package allows, consider upgrading your internet speed. This can greatly improve your Wyze Camera’s video quality.
- Use Ethernet Connection: If possible, consider connecting your router to the camera with an Ethernet cable. It offers a more stable connection than WiFi.
Issue 4: Delayed Notifications
I found that delayed notifications were often related to my phone’s settings and not the Wyze Camera or WiFi connection. Here’s what worked for me:
- Check App Settings: In the Wyze app, I ensured that the notifications were turned on for my camera.
- Check Phone Settings: I checked my phone’s settings to ensure that it was not limiting background data usage for the Wyze app.
FAQs About Wyze Cameras: A User’s Guide
Hello again, smart tech enthusiasts! If you’ve been following along on my Wyze Camera journey, you’ve seen the highs, the lows, and everything in between. Today, I’m addressing the most frequently asked questions I’ve encountered during my time with Wyze. Hopefully, my answers can help you better understand this remarkable piece of technology.
1. Can Wyze Cameras work without the Internet?
In my experience, a Wyze Camera requires an internet connection to setup, receive firmware updates, and send notifications to your phone. However, if you’ve inserted a microSD card, it can record events or continuously record even when the internet is down.
2. Can I use a Wyze Camera outdoors?
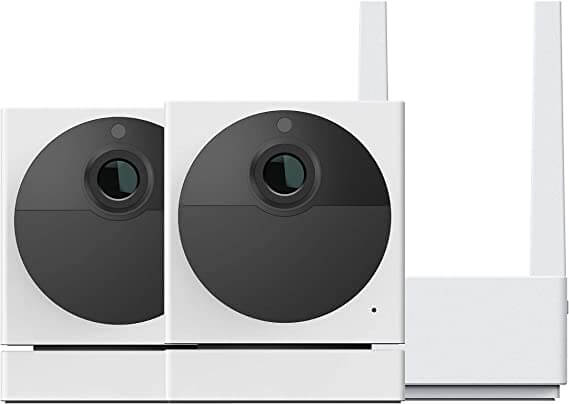
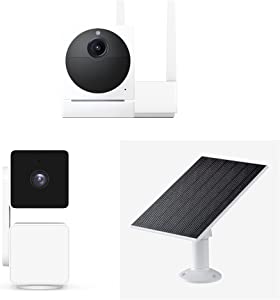
Yes, but make sure it’s a Wyze Cam Outdoor or a regular Wyze Cam enclosed in an outdoor cover. I’ve been using my Wyze Cam Outdoor to monitor my backyard, and it’s been standing up to the elements brilliantly.
3. How long do Wyze Cameras record?
With a microSD card, I’ve set my Wyze Camera to continuously record, and it can keep the footage until the card is full. Without a card, it records 12-second event videos that are stored in the cloud for 14 days.
4. Why isn’t my Wyze Camera connecting to WiFi?
I’ve faced this issue a few times. Make sure your WiFi is set to 2.4GHz, not 5GHz. Also, check your WiFi name and password for errors. If those aren’t the issue, try restarting your router and Wyze Camera.
5. Can Wyze Cameras record to the cloud?
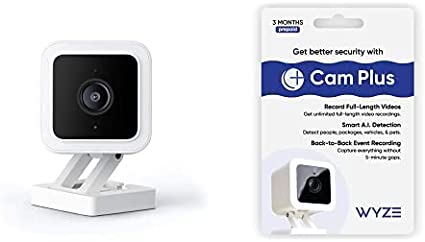
Yes, they can. Wyze offers 14 days of rolling cloud storage for 12-second event videos. If you want more, you can subscribe to Wyze’s premium service, Wyze Cam Plus.
6. Why is my Wyze Camera’s video feed lagging?
I found that lagging video often indicates a weak WiFi connection. Try moving your Wyze Camera closer to the router or consider upgrading your internet speed.
